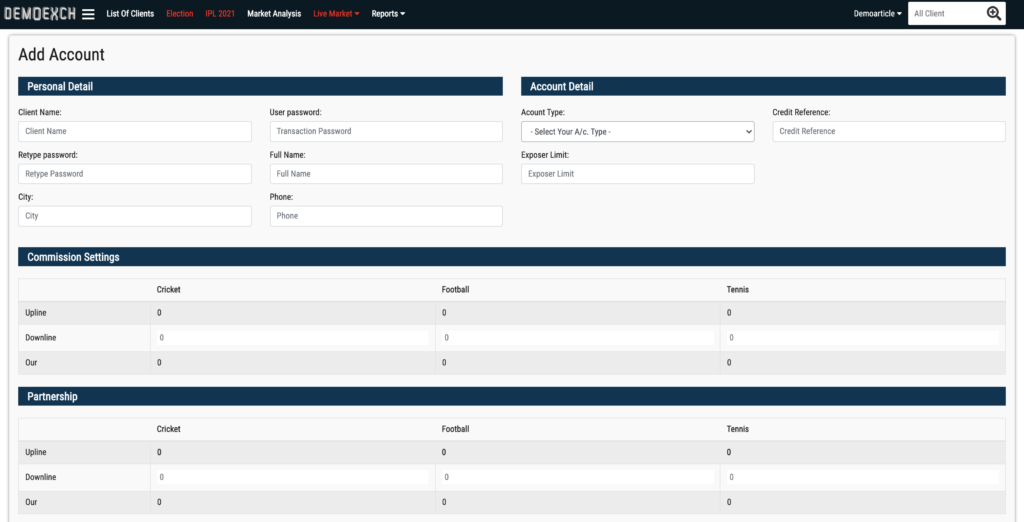
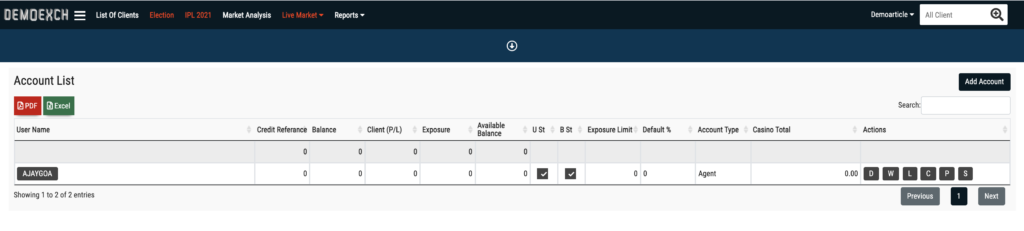
1st – Client Name – Here you have to write the name with which you wish to create the ID for example “AjayGoa”. Remember, the username must be unique otherwise the red-colored indication will show you (username already exists) so your client name has to be kept unique.
2nd – Password – Then you will have the next option of user password (transaction password)- Remember to create an eight digits password in which the first 4 digits can be alphabets and the next 4 as numbers. For example Abcd1234 ( Use first letter capital to make the password effective)
3rd – Retype Password Retype the password: In this option, you have to type your password again that you added previously in the add password option.
4th- Full Name – In this option, you have to enter the first alphabet only of the name you are creating id with. For example, Ajaygoa is your username, so you have to ( Use Only A ) in this option.
5th – City – You will find the city option also, you need not mention your city here. Leave it blank.
6th – Phone – Do not add anything in this option as well.
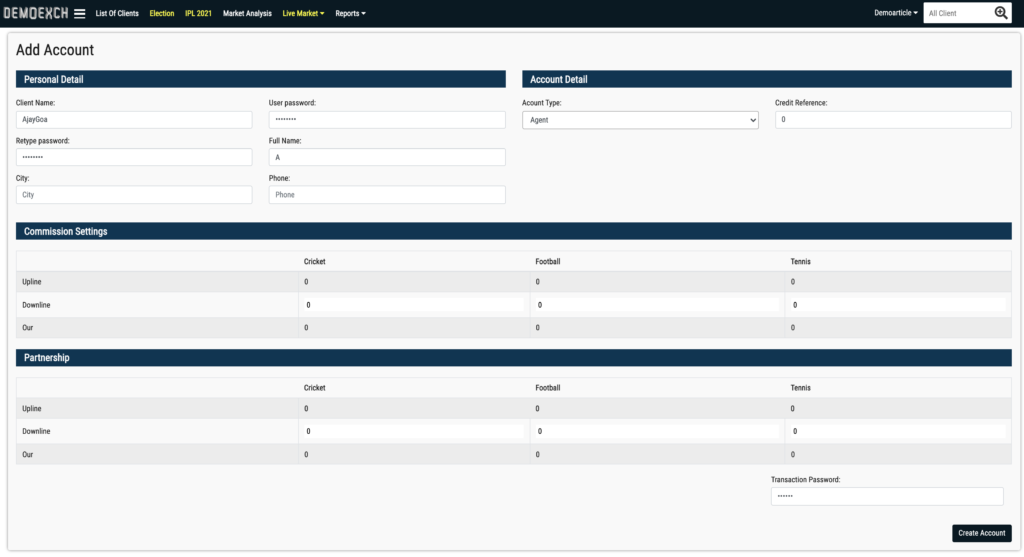
7th – Account Type – The next option that you will see is Account Type where you can see the agent and User ID. As you know that In this video, we are showing you how to make the agent ID using the master panel, so here you have to select the agent.
8th – Credit Reference Next comes the credit reference that says, you will have to credit here if you have offered coins to anyone.
9th – Commission Settings & Partnership – Here comes the commission settings, Partnership will showcase where you need not make any changes and add 0 in all the columns shown to you.
10th – Transaction Password – At last you need to add transaction password.
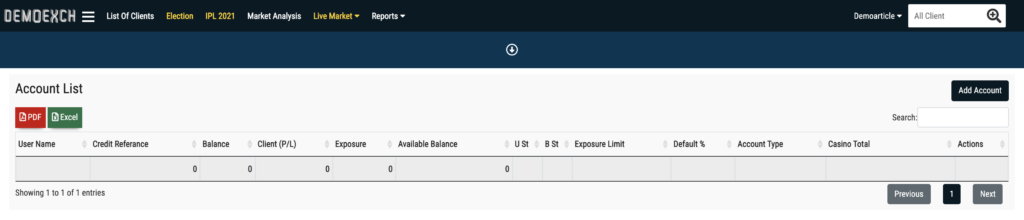
11th – Create Account – After transaction password you will have to click on create account and you will see the successful message on top right corner like in this screenshot.
You will find the city option also, you need not mention your city here. Leave it blank.


Comments are closed.